

How to use Chainlit
Integrating an AI model with Chainlit in your application
-

- •

Introduction
Chainlit is an open-source, Python-based framework for creating and managing conversational applications. While Chainlit does not include Large Language Models (LLMs) by itself, it provides a variety of convenient tools and interfaces. These enable developers to build complex dialogue systems and seamlessly integrate LLMs into their applications without worrying about the underlying implementation details. Chainlit integrates effortlessly with existing codebases, supports multiple platforms, and facilitates rapid responses, which are key reasons for its growing popularity.
Chainlit Installation
Prerequisites
Chainlit requires python 3.8 or higher. You can use the following command in the terminal to check your Python version:
python --versionIf your Python version on your system is lower than 3.8, go to the python download page and download the latest version.
Installation
After setting up Python, install Chainlit via pip as follows:
pip install chainlitAfter installation is complete, the Chainlit command should be available on your system. Then, use the command below to run Chainlit:
chainlit helloA new window of Chainlit UI should pop up and ask for your name like this:
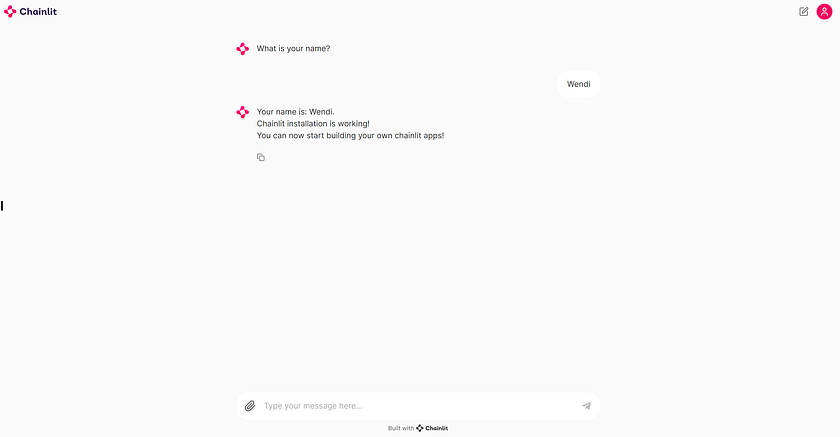
If you see something like this, you are all set!
Build a minimal LLM app using Chainlit
In the following tutorial, we will guide you step by step to build an LLM app demo with Chainlit on your system. Generally, there are two different ways to use Chainlit. The first is Pure Python, which focuses on how to use chainlit with Python code. The second involves integrating Chainlit with other frameworks.
In Pure Python
Step 1: Create a Python file
Create a new Python file named app.py in your project folder. We will add the main logic for your LLM application later.
Step 2: Write the application Logic
In the app.py file, import the Chainlit package into your project and outline the basic structure of our function to handle the incoming messages from the chatbot UI. The main function will be called each time a user inputs a new message into the chat box. You can add more logic to the code to customise your application. Here is the basic structure of the script:
import chainlit as cl

@cl.on_message
async def main(message: cl.Message):
    # Your custom logic goes here...

    # Send a response back to the user
    await cl.Message(
        content=f"Received: {message.content}",
    ).send()
Step 3: Build a demo using Pure python
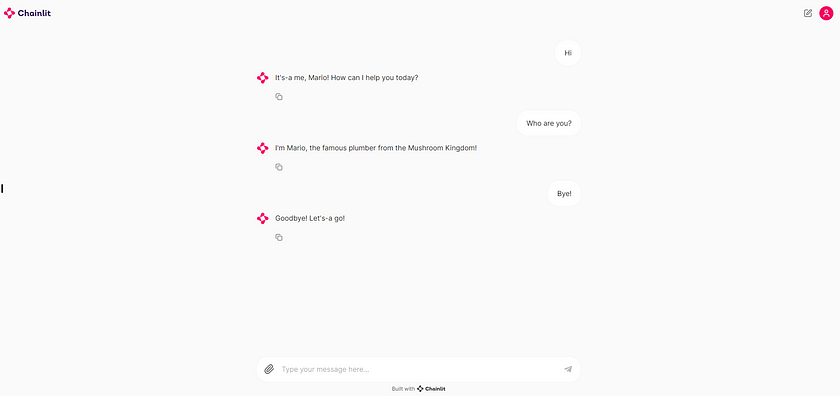
After understanding the code script above, we can build a Mario bot by adding more logic to our script. Here’s an example:
import chainlit as cl

@cl.on_message
async def main(message: cl.Message):
 # Your custom logic goes here...
    user_input = message.content.lower()
    if "hello" in user_input or "hi" in user_input:
        response_message = "It's-a me, Mario! How can I help you today?"
    elif "who are you" in user_input:
        response_message = "I'm Mario, the famous plumber from the Mushroom Kingdom!"
    elif "help" in user_input:
        response_message = "Don't worry, I'll save the Princess Peach from Bowser's castle!"
    elif "jump" in user_input:
        response_message = "*Mario jumps high and hit the question box!*"
    elif "mushroom" in user_input:
        response_message = "*Mario finds a mushroom and becomes Super Mario!*"
    elif "bye" in user_input:
        response_message = "Goodbye! Let's-a go!"
    else:
        response_message = "Mama mia! I didn't understand what you said."

    # Send a response back to the user
    await cl.Message(
        content=response_message,
    ).send()
Run app.py using the command below in the terminal.
chainlit run app.py -wThen, you can test this demo by typing some messages!
Integrate Chainlit with other frameworks
We can also integrate Chainlit with other frameworks, such as OpenAi, LangChain, Llama Index, or Haystack. Here, we demonstrate this by integrating OpenAI and Chainlit and building a story maker as an example.
Step 1: Install the OpenAi Package
If you don’t have the OpenAi package, you can install it via pip in the terminal as follows:
pip install openaiThis will install the OpenAI library, allowing you to use the OpenAI API on your system, including the asynchronous client AsyncOpenAI.
Step 2: Get OpenAI API key
If you don’t have your own OpenAI API key, you can go to OpenAI homepage and apply for one. Please note that OpenAI API key is a business product and it will incur costs when used. However, in this example, it won’t cost much (less than $0.01) because this demo is a story maker and generates only a limited number of words each time.
Step 3: Write the Application Logic
After obtaining your OpenAI API key, create a new Python file named test.py in your project folder. Then, import the necessary packages to use Chainlit UI and access ChatGPT 3.5. Additionally, add a function to handle the incoming messages from the input. In this example, we allow the user to type several keywords at once, then our application can generate a short story based on your keywords. Here’s the code for this demo:
from openai import AsyncOpenAI
import chainlit as cl
client = AsyncOpenAI()

# Instrument the OpenAI client
cl.instrument_openai()

settings = {
    "model": "gpt-3.5-turbo",
    "temperature": 0,
    # ... more settings
}

@cl.on_message
async def on_message(message: cl.Message):
    response = await client.chat.completions.create(
        messages=[
            {
                "content": "You are a story maker. Please generate a story in English based on the words I give you. The story should be less than 20 words",
                "role": "system"
            },
            {
                "content": message.content,
                "role": "user"
            }
        ],
        **settings
    )
    await cl.Message(content=response.choices[0].message.content).send()
Run our application in the terminal using the command below:
chainlit run test.py -wWe have built our own story maker, let’s have a try!

By integrating Chainlit with other LLMs, we can easily create a decent dialogue interface UI and functional application. Additionally, we can customise the application using different types of AI Models. Another advantage of Chainlit is that it can be used across multiple platforms, such as Web App, Copilot, API, Slack, etc. You might have noticed that when we run the demo in this tutorial, it opens our application in your default web browser. It indicates that we have already deployed Chainlit in our web app.
Conclusion
Chainlit is a very handy tool that helps developers build their applications quickly. Chainlit can integrate different AI models and provide a basic dialogue UI for message input, greatly reducing the learning curve for users building customised AI-based applications. This not only speeds up development cycles but also enables developers to focus more on refining their applications’ functionalities rather than backend complexities.
References
Technical Support Documentation for Chainlit — Get Started. Read me.
Catch the latest version of this article over on Medium.com. Hit the button below to join our readers there.


