What is Stable Diffusion?
An In-Depth Exploration of the Text/Image-to-Image AI model
Introduction
The Stable Diffusion model is a cutting-edge AI technology designed to convert textual descriptions into detailed images. This deep dive into the Stable Diffusion model covers its architectural principles, diffusion processes, operational intricacies, and practical applications, providing a foundation for both novices and experts interested in this transformative technology.
Understanding Stable Diffusion
1. Fundamentals of Latent Diffusion Models
- Conceptual Overview: Stable diffusion is a type of latent diffusion model. Latent diffusion models represent a significant advancement in generative technology, primarily by operating in a compressed latent space rather than manipulating direct pixel data. This shift allows for the encoding of essential image information into a more manageable, lower-dimensional form, significantly enhancing computational efficiency and speed. Unlike traditional pixel-based models, latent diffusion employs a process where noise is iteratively added and then methodically removed in a controlled manner, guided by the input. The model trains through a method known as denoising score matching, where it learns to reverse the noise addition by predicting and subtracting the noise at each step. This not only accelerates the image generation process but also reduces memory usage, making it highly effective for creating complex, high-resolution images across various applications.
- Technical Insights: The model initiates the image generation process by introducing a randomly generated noise pattern within the latent space, a compressed and abstract representation of data. This initial state is far from any meaningful image but sets the groundwork for the transformation process. As the model progresses, it employs a series of carefully learned transformations, each tailored through extensive training on diverse datasets, to methodically reduce the noise. This denoising step brings the latent representation closer to an image that aligns with the described attributes. Through this iterative refinement, the model gradually shapes the random noise into a coherent and visually detailed output. Here is a simple demonstration of noising and denoising:

In the above image, Fixed Forward diffusion process is the noising process, and Generative reverse denoising process is the denoising process with respect to image processing.
2. The Mechanism of Diffusion

- Diffusion Process Explained: At the heart of the model lies a sophisticated iterative process where it systematically introduces Gaussian noise into an initial image representation, typically starting from a state of pure noise, and progressively learns to reverse this noisy interference. During each iteration, the model employs a neural network to accurately predict the specific noise pattern that was introduced in the preceding step. It then strategically subtracts this predicted noise, effectively refining the image. With each subsequent iteration, the model incrementally enhances the visual clarity and detail, drawing the image closer to a high-fidelity representation that matches the intended description.
- Training the Model: Training a latent diffusion model involves using a large dataset of images paired with descriptions. The model is trained to perform two primary tasks: adding noise to an image and then predicting and removing noise to recover the original image. This dual training process helps the model learn the nuances of both image degradation and restoration.
Key Functionalities of Stable Diffusion
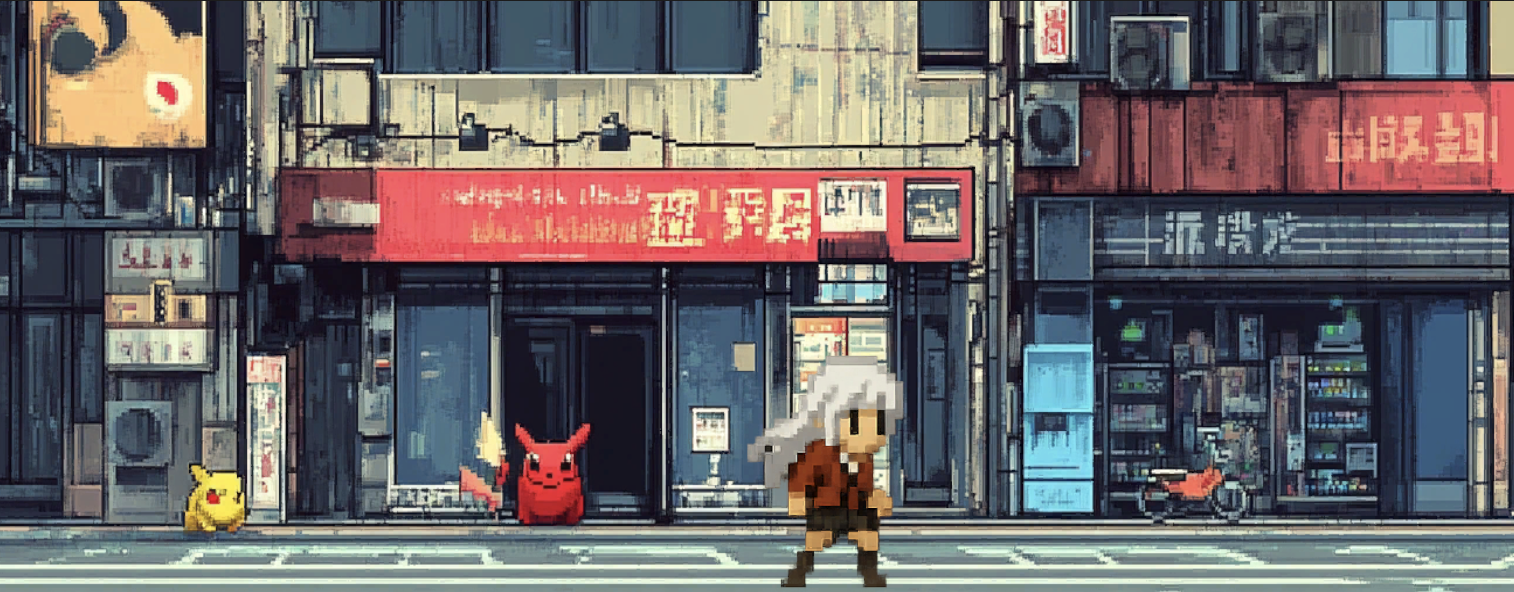
Text-to-Image Generation (text2img)
- Operational Detail: When provided with a textual description, the stable diffusion model begins by converting this text into a latent representation. This involves tokenising the text into smaller segments, and then encoding these segments into a high-dimensional vector using an encoder. This encoded vector serves as a critical guide during the image generation process, directly influencing the modification of noise in the latent image.
- Advanced Techniques: To enhance the precision of text-to-image translation, the model can be fine-tuned on specific datasets that align closely with the desired output themes or styles. This targeted training helps the model adapt its internal parameters to better reproduce particular visual nuances. Additionally, adjusting hyperparameters like the number of diffusion steps and the noise temperature can further refine the quality and accuracy of the generated images. Increasing the diffusion steps allows for a more gradual and controlled transformation process, potentially leading to higher detail and fidelity in the final image. Adjusting the noise temperature affects how much randomness influences each step, which can help in balancing creativity and adherence to the input text.
Image-to-Image Translation (img2img)
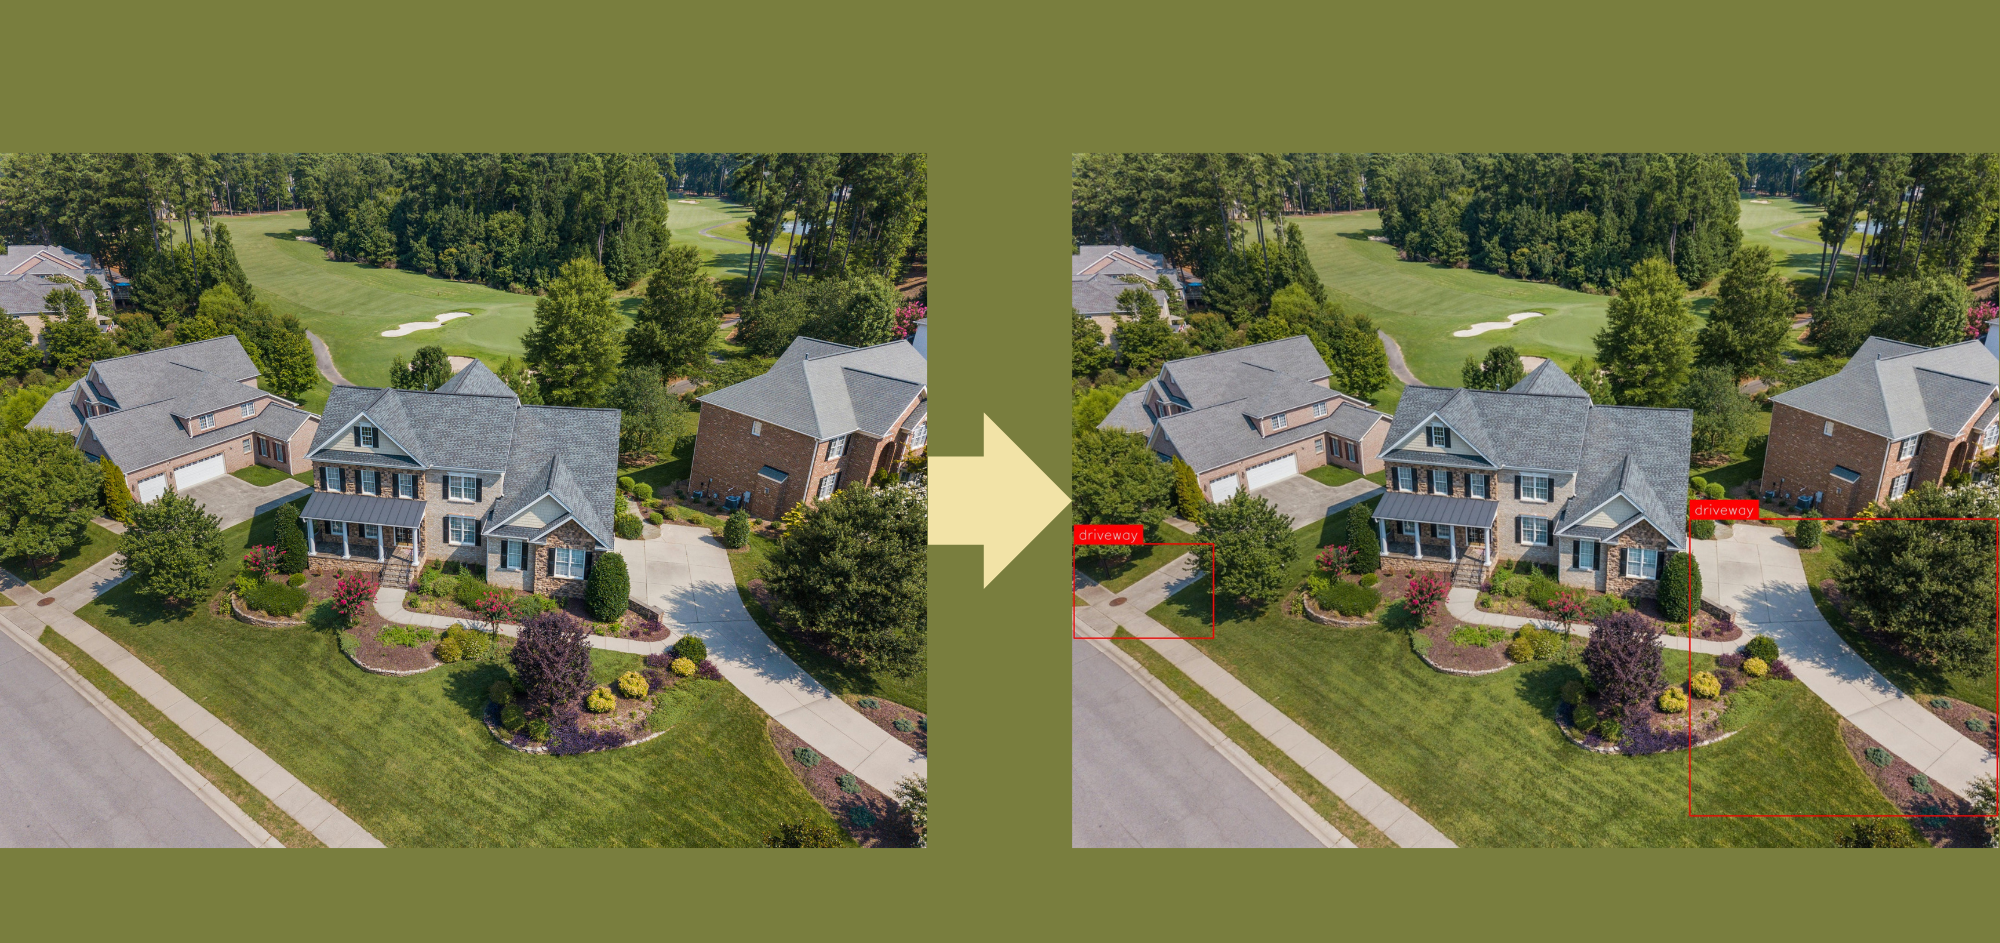
- Process Overview: In img2img tasks, an existing image is first encoded into the latent space. The textual description then guides how this latent representation is modified, allowing the model to make informed adjustments to the image based on the text.
- Application Spectrum: The img2img functionality of Stable Diffusion proves invaluable in various fields. In architecture, it allows for visualising modifications to existing structures by simply inputting textual descriptions, helping stakeholders envision potential changes. In fashion, designers can alter garment designs digitally, adjusting elements like colour or fabric patterns based on textual inputs, streamlining the design process. In entertainment, creators can dynamically generate or adjust visual content for films and games, ensuring visuals stay aligned with evolving narratives, enhancing both creative flexibility and production efficiency.
Practical Implementation of Stable Diffusion Using Automatic1111’s WebUI

- Installation Guide: Detailed instructions for setting up Automatic1111’s WebUI, are given in the link to the GitHub repository here, but here is a brief overview of the process, taken directly from Automatic1111’s installation guide:
Automatic Installation on Windows
- Install Python 3.10.6 (Newer version of Python does not support torch), checking “Add Python to PATH”.
- Install git.
- Download the stable-diffusion-webui repository, for example by running
git clonehttps://github.com/AUTOMATIC1111/stable-diffusion-webui.git. - Run the Windows batch file
webui-user.batfrom Windows Explorer as a normal, non-administrator, user.
Automatic Installation on Linux
- Install the dependencies:
# Debian-based:
sudo apt install wget git python3 python3-venv libgl1 libglib2.0-0
# Red Hat-based:
sudo dnf install wget git python3 gperftools-libs libglvnd-glx
# openSUSE-based:
sudo zypper install wget git python3 libtcmalloc4 libglvnd
# Arch-based:
sudo pacman -S wget git python3
Installation on Apple
Here is the link for Apple Installation since it has much finer details to consider.
- Navigating the Interface: Here are a few screenshots of what the WEBUI actually looks like:
- In the above image, I have used a different checkpoint instead of the default stable diffusion. This is because you can download and manually configure the WEBUI to get different diverse checkpoints, and one very prominent website for these model checkpoints is civitai.com
- From this website, you can download model checkpoints which usually come in the file format of
.safetensorsor.ckpt. In civitai.com, you can also view example images and see how well a certain checkpoint performs. - Another Prompt here with a checkpoint called
rpg_v5:

Python Integration
- Setting Up the Environment: Comprehensive setup instructions for a Python environment capable of running Stable Diffusion, including the installation of PyTorch, Transformers, and other necessary libraries, along with CUDA for GPU acceleration.
- Code Examples and Explanations:
— Basic Image Generation: Detailed Python code for generating an image from text, including explanations of each line of code, parameter adjustments, and handling of outputs.
— First, import the necessary libraries:
from diffusers import StableDiffusionPipeline
import torch from PIL
import Image
- Next is the example code:
model_id = 'CompVis/stable-diffusion-v1-4'
pipe = StableDiffusionPipeline.from_pretrained(model_id, torch_dtype=torch.float32)
pipe = pipe.to('cuda')
prompt = "Warrior man"
negative_prompt = "blurry, low quality, deformed, distorted, low res, ugly, extra fingers, more than 5 fingers, deformed hands"
image = pipe(prompt, negative_prompt=negative_prompt).images[0]
image.save('newer.png')- The result of this is:

- Advanced img2img Transformation: An example of image-to-image generation in Python is given below.
- The example code is as follows:
from diffusers import StableDiffusionPipeline
import torch
from PIL import Image
# Load the image-to-image pipeline
pipeline = StableDiffusionImg2ImgPipeline.from_pretrained("CompVis/stable-diffusion-v1-4", torch_dtype = torch.float16).to('cuda')

# Load your initial image
img = Image.open("cartoon-scientist.jpg")

# Define your prompt for modification
prompt = "turn the scientist into a comic panel character. Give me a comic panel with him"

negative_prompt = "blurry, low quality, deformed, distorted, low res, ugly, extra fingers, deformed eyes, deformed hands, text"

# Process the image with the pipeline

result = pipeline(prompt=prompt, negative_prompt=negative_prompt, image=img, strength=0.8, num_inference_steps=50)
new_image = result.images[0]
new_image.show()- The input image:

- The result is:

- As you can see, results are not perfect due to technical considerations and optimisation processes. These are explained below.
Technical Considerations and Optimisation
Hardware Considerations
- GPU vs. CPU Performance: Detailed comparison of performance metrics when using GPUs versus CPUs, including benchmarks, recommended hardware specifications, and practical tips for users with limited resources.
- CUDA and GPU Acceleration: In-depth discussion on how CUDA enables GPU acceleration, its impact on model performance, and step-by-step guidance on configuring CUDA settings for optimal efficiency.
Optimisation Strategies
- Efficiency Maximisation: Techniques for maximising the efficiency of image generation, such as adjusting the inference steps, experimenting with different batch sizes, and leveraging advanced features like checkpointing to manage long-running tasks.
- Memory and Resource Management: Best practices for managing system resources, including memory optimisation techniques to prevent crashes and slowdowns, particularly when handling large-scale image generation tasks.
Conclusion
This comprehensive guide to Stable Diffusion offers a deep understanding of its technology, from the fundamental mechanisms to advanced applications and practical implementations. By dissecting each component and functionality, users can effectively harness the capabilities of this powerful tool to transform textual descriptions into vivid images, paving the way for innovations across various creative and technical fields. Whether you are a novice looking to explore AI-driven image generation or an expert aiming to integrate and optimise Stable Diffusion in professional projects, this guide provides the knowledge and tools needed to achieve mastery in this area.
References
- Tool Directory (n.d.). Stable Diffusion. Available at: https://tooldirectory.ai/tools/stable-diffusion. [Accessed: 7 August 2024].
- AUTOMATIC1111 (n.d.). Stable-diffusion-webui. GitHub repository. Available at: https://github.com/AUTOMATIC1111/stable-diffusion-webui. [Accessed: 7 August 2024].
- Python.org (2022). Python Release Python 3.10.6. Available at: https://www.python.org/downloads/release/python-3106/. [Accessed: 7 August 2024].
- Git SCM (n.d.). Git — Downloads for Windows. Available at: https://git-scm.com/download/win. [Accessed: 7 August 2024].
- AUTOMATIC1111 (n.d.). Installation on Apple Silicon. GitHub. Available at: https://github.com/AUTOMATIC1111/stable-diffusion-webui/wiki/Installation-on-Apple-Silicon. [Accessed: 7 August 2024].
- Jacobs, I. (n.d.). High-resolution image synthesis with latent diffusion models. LinkedIn Pulse. Available at: https://www.linkedin.com/pulse/high-resolution-image-synthesis-latent-diffusion-models-ivan-jacobs/. [Accessed: 7 August 2024].
- Civitai. Available at: https://civitai.com/images. [Accessed: 8 August 2024].
Catch the latest version of this article over on Medium.com. Hit the button below to join our readers there.

